A few weeks ago my class had a screen printing workshop with our print technician it was very interesting and fun learning how to silk screen print. As my memory isn't too good there and theres a lot of steps it was hard for me to remember it all but I think the more I do it the easier it will get for me. I created a print of David Cameron that Jade had perviously prepared for us to save time.
First of all we had a safety brief just to make sure we knew how to keep safe, then we prepared the screen with light developing paint and left it to dry in the drying rack. Once that had dried we took the design that we wanted on the screen and put the design under the screen in a light developing box, you then close the lid to the box and vacuum out all of the air. You then turn on the UV light for around 30 seconds so the light sensitive paint will burn the image into the screen. Then the screen gets cleaned in the jet wash to wash away the light sensitive paint then your image is ready to print. Before printing the edges of the screen should be taped off to stop any colour coming through the edges. After putting your paper down onto the vacuum board and putting your ink or paint onto the screen you have to use a squeegee kind of thing to drag the paint over the screen whilst pushing down and then your print should be done, I wasn't too good at this bit because i'm not used to holding the squeegee at the right angle but I should get used to it as i go. That is a basic description of how to screen print, there are more small details to it when you actually print but that is the idea of it.
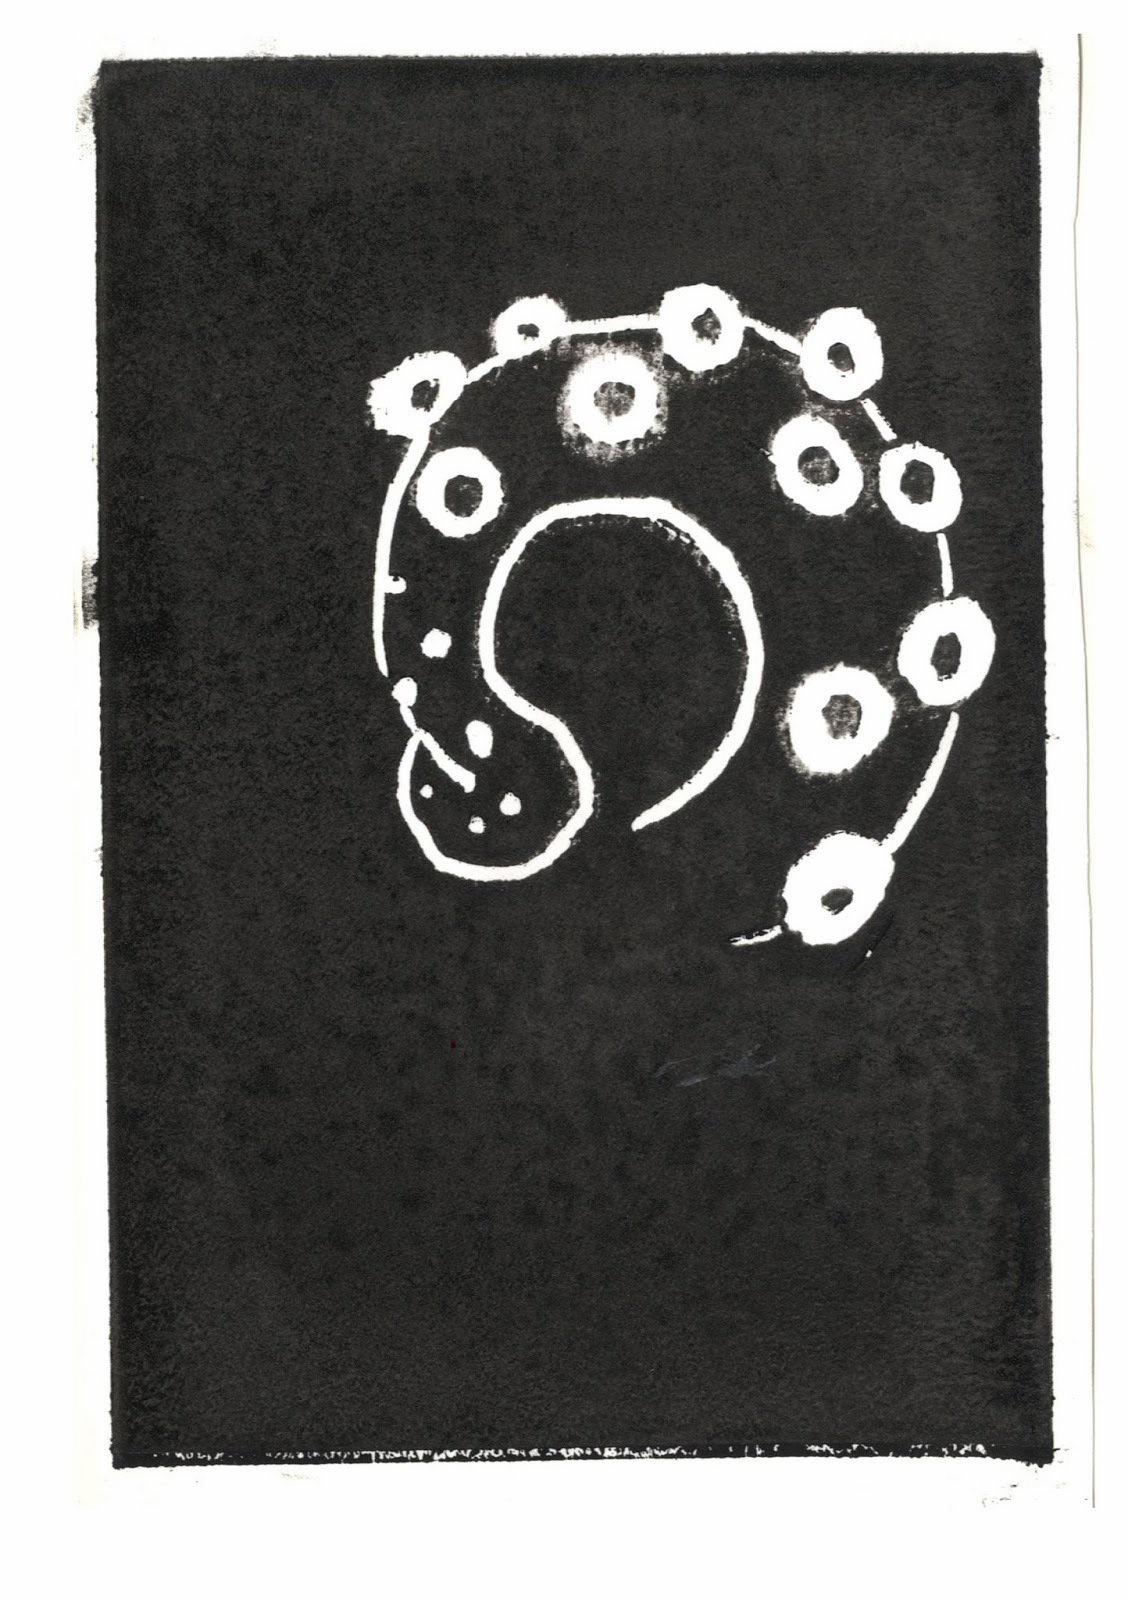
I think I will use this technique for my current project because the style works very well for what I want to achieve. Im not sure if it will work perfectly because I don't have much experience with screen printing but I will definitely try the technique out. Here is the print from the work shop
Showing posts with label printing. Show all posts
Tuesday, 21 October 2014
Thursday, 17 October 2013
Lino printing
On tuesday i got an induction on how to use the printing press. I created some lino prints so i could learn how to use it properley. I have done lino cutting in the past so i knew that i would enjoy it. I decided to start off with a small test lino print to refresh my mind and see how it would work out. I decided to do an octopus tentacle because i thought the effect would work well for it. i enjoyed cutting it out although it was quite fiddly to do the little circles. In the end i really like how it turned out. The first print wasn't that good because i used a spoon to print the image so the print isn't that even. The second image was done on the printing press so it is much better.
I decided that i really liked the look of this technique so i decided to see if i could incorporate it into some of my final images. I decided to do a whale head and a full set of octopus tentacles i was really happy with how they turned out. I decided to print out the whale heads in blue and black to see what i liked best. The prints are below. In the end i decided not to use these on my final images because it didnt look good with the other techniques that i was using.
Subscribe to:
Posts (Atom)