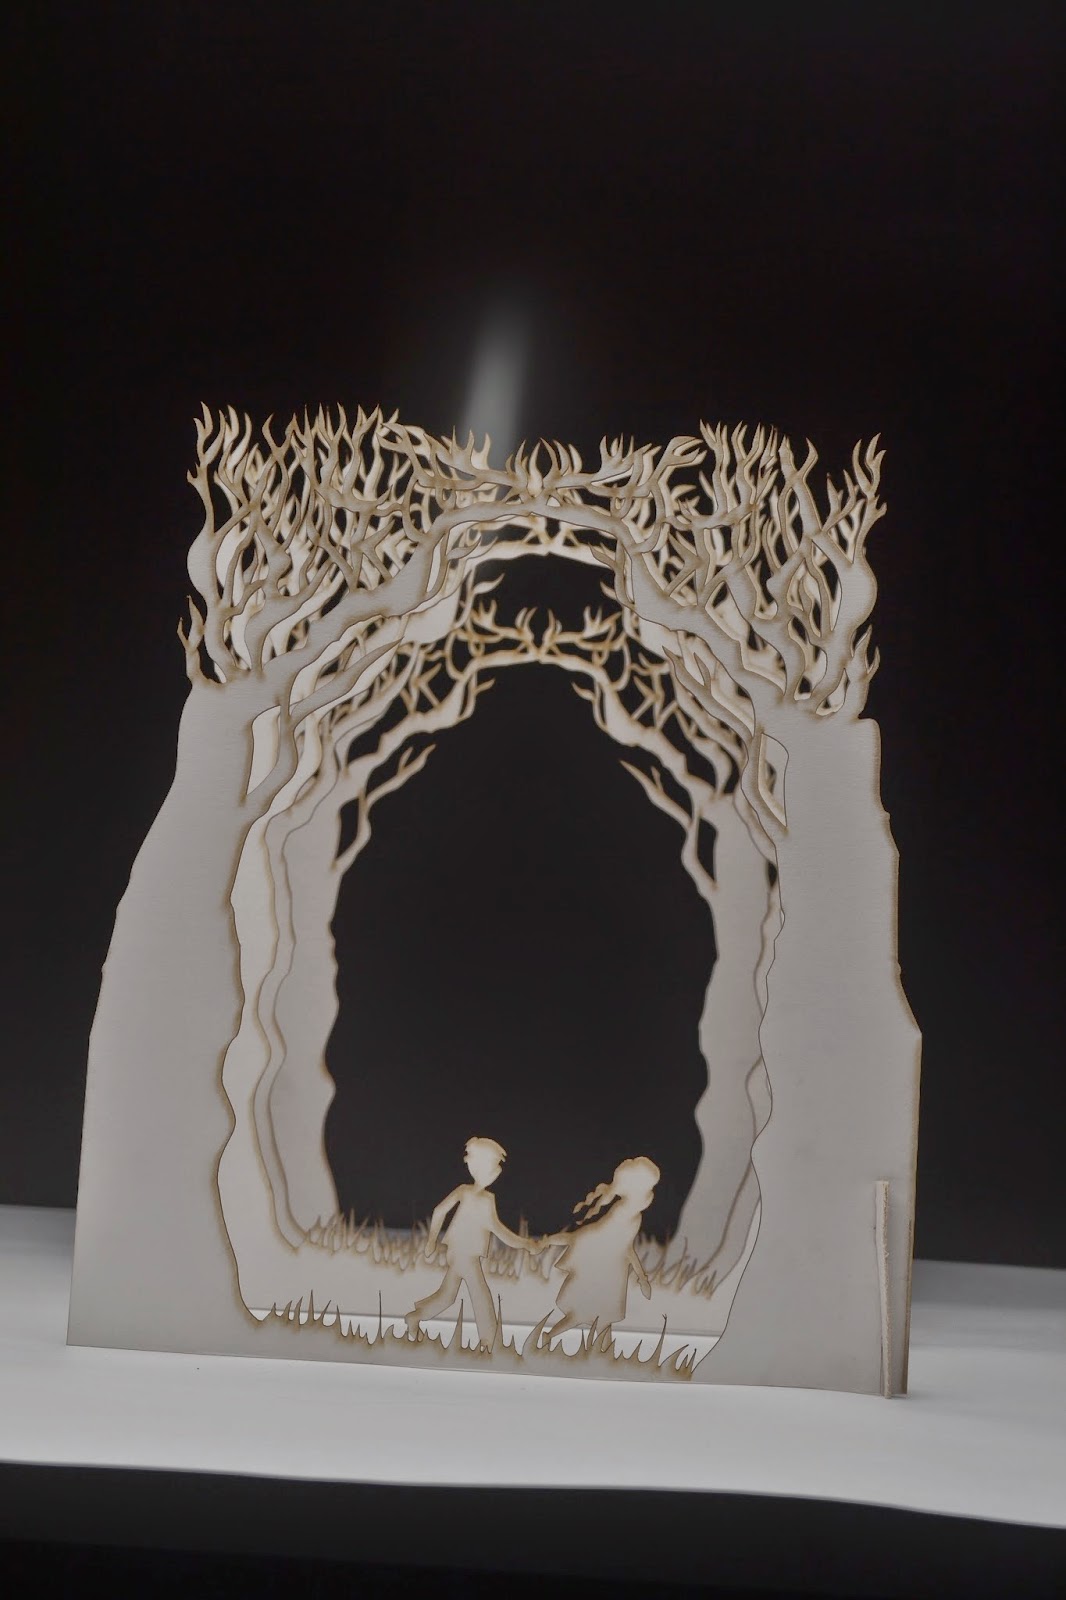
I started to photograph (with a lot of technical help) my book cover design for carrie's war as this is a vital part of my design. It was very tricky as the lighting has to be perfect to give the effect that I want for the cover. As I have layers of trees making the scene look like a forrest the lighting had to be played around a lot to make the image have lots of depth and shadows. I decided to start by photographing the image that will be on the back of the cover because it more simple than the front cover image and thought it might be good to start off with a more simple image. Here are a few of the photos that I started with (They're a bit wonky)
We started off lighting it from above and the left side but it made the image look too flat and everything was all the same orangey colour so we tried a few different lighting and camera settings.
This time the image still looked too flat but the colour had improved as it was more white rather than orange. I want the original image to look white so it will be easier if I want to change the colours in photoshop when I edit them.
This image was getting closer yet again but was not quite there because there was more variation and depth between the laters with the way that the shadows fell but it wasn't quite right.
We decided to try it with the light closer to the image and try holding up tracing paper behind the set to soften the light this was creating even more depth but it still wasn't there
we then decided to try with lighting the set with the soft box from behind and this seemed to be the correct solution because it started to look a lot better. There was also a dimly lit light in front of the set to light the front of the image slightly. Now it was just a case of getting the composition and camera angle right. Here are the photos with the correct lighting.
This is the first image where the depth was really working and the shadows were looking good but the camera angle needed to be moved around to make the image central.
The camera angle on this image is improved from the last one but not completely right yet so we got a bit closer and straightened up the edges more.
Finally after a long morning of experimentation and lots of different lights and techniques being used we got the image just right. The next step is to edit the levels and colours a bit in photoshop to help the image reach its full potential.


No comments:
Post a Comment